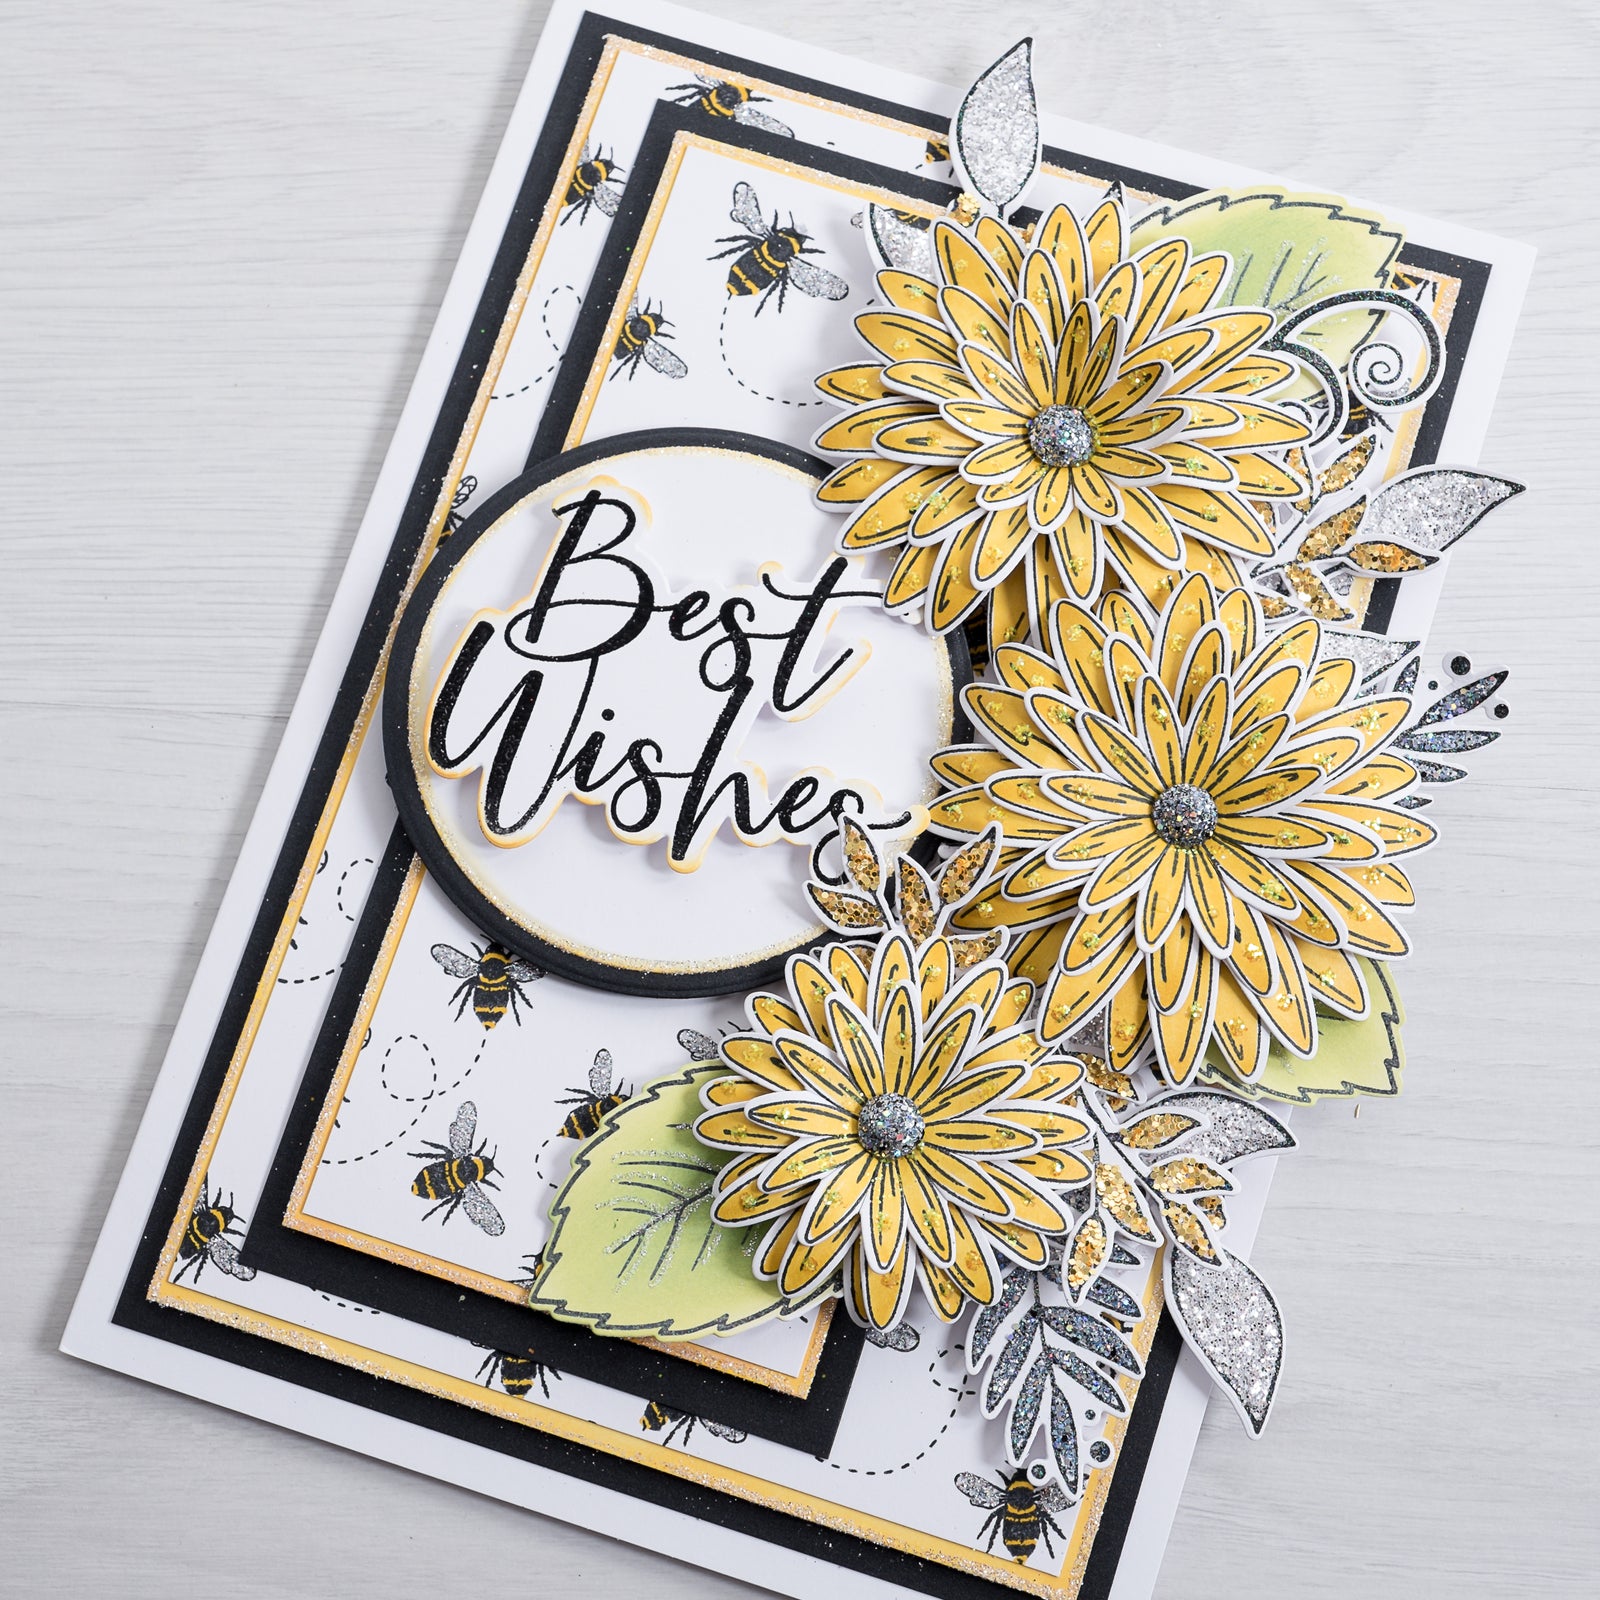

DON'T WORRY, BEE HAPPY!
How beautiful is this Busy Bee and Yellow Pretty Daisy project from Glynis? Featuring our super cute new bee design background stamp and let's not forget those show stopping Pretty Daisies!
Today's tutorial will take you through the steps to create this quick and easy Best Wishes card using some of our favourite projects from our latest collection from us at Chloes Creative Cards. You'll BEE busy stamping, die cutting and embossing with this colourful project.
So what are you waiting for? It's sure to make someone smile!

Materials:
- 7" x 10" Base Card
- Chloes Creative Cards DL Bee Background Stamp
- Chloes Creative Cards Pretty Daisy Stamp and Die Set
- Chloes Creative Cards Metal Die Set - 8 x 8 Basic Circles
- Chloes Creative Cards Best wishes stamp and die set
- Chloes Creative Cards Summer Foliage Stamp and Die Set
- Sparkelicious Glitter in Disco Ball, Glass Slipper, Diamante Sparkle, Fiesta and Lemon Sherbet.
- Chloes Luxury Pearl Card Onyx
- White card
- Yellow Marker Pen
- Memento Black Ink Pad
- WOW clear embossing ink pad
- WOW Primary Ebony Superfine Embossing Powder
- Tim Holtz Twisted Citron Oxide Ink Pad
- Heat gun
- Die Cutting Machine
- Chloes Creative Cards 3mm Foam pads on a Roll
- Art Glitter dries clear PVA glue
- Collall 3d glue gel
- Chisel Tip Glue Pen
- 3 Medium Size Jewels
Instructions:
1. Using a piece of white card 9" x 6" stamp the DL Bee Background stamp all over using Memento Black Ink Pad, you will need to line the stamp up at the side of the previous stamped image and at the bottom ( but don't worry this is one of the easiest stamps to line up).

2. Colour the bees bodies with a yellow marker pen and glitter with wings with a glue pen and Glass Slipper Sparkelicious, mat and layer this onto a piece of white card where the edges have been coloured in with the same yellow marker pen and glittered.
3. Attach this layer to a piece of Onyx Pearl Card with foam pads and secure onto the base card.
4. For the panel repeat this process regarding the matting and layering only this time stamp the DL Panel Background just the once and attach to the base card on the left hand side.

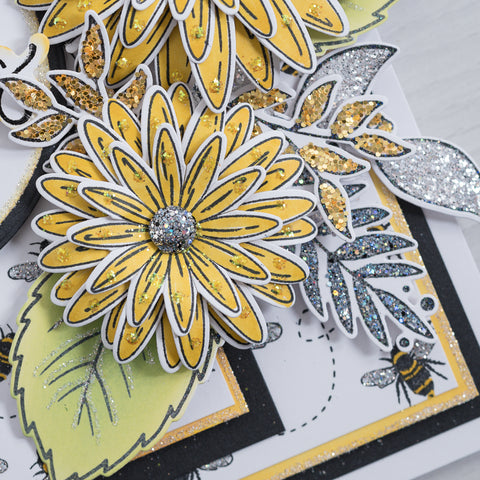
5. Stamp and die cut the Daisy numerous times using the Memento Black Ink onto white card, colour with the yellow marker pen and glitter with Lemon Sherbet Sparkelicious when dry shape the petals and Art Glitter dries clear together attaching a glittered Disco Ball jewels to the middle of each one.
6. Stamp, heat emboss and die cut the Summer Foliage using the Ebony Embossing Powder on to white card colour the large leaves using the Twisted Citron Oxide Ink and glitter with the Glass Slipper Sparkelicious, for the rest of the Summer Foliage use the Fiesta, Diamante Sparkle and Disco Ball Sparkelicious.
7. Die cut two different size circles using the Ex Large Circle Die Set, one in white card and one in Onyx Pearl Card, colour the edges of the white circle and glitter with Glass Slipper Sparkelicious and attach to the Onyx circles, secure onto the base card with foam pads.

8. Stamp, heat emboss and die cut the Best wishes using the Ebony Embossing Powder, brush the edges with the yellow marker pen and attach to the circle with foam pads.
9. Arrange the Summer Foliage and Daisies onto the right hand side of the card and secure into place with Collall 3d glue gel.


