
Hello Crafters,
Glynis has been busy creating some wonderful tutorials using our new Box Kit 10 which was recently launched on our website. The new craft-making kit is a card making must have and I'm sure it will become a staple this season with the fabulous new limited edition stamp.
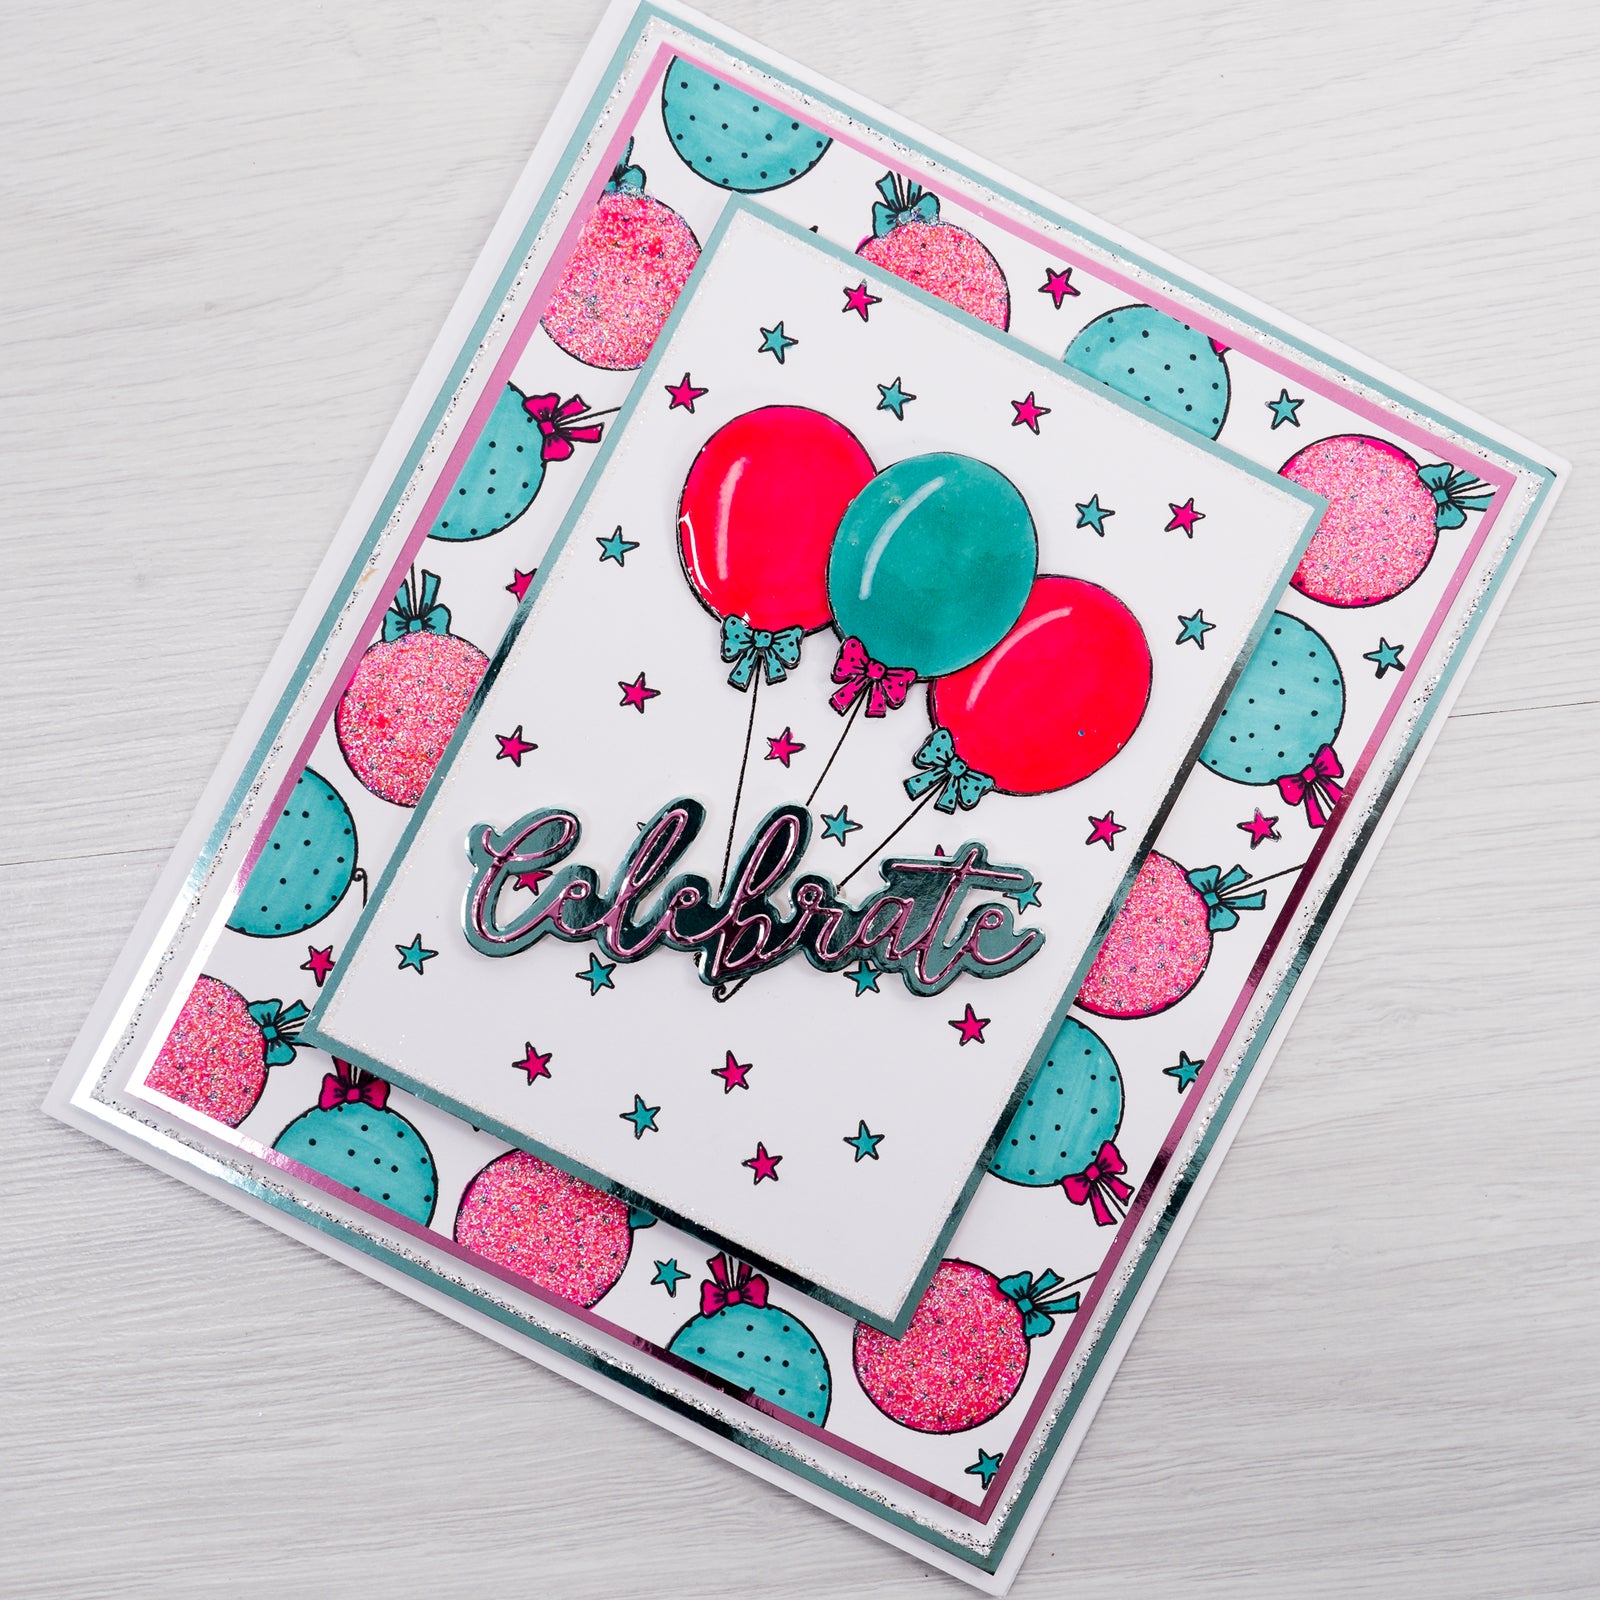
We think this card is a great example of how to create a quick and easy birthday card using the Limited Edition balloon stamp from the kit.
Glynis has used pink and blue marker pens to colour in the balloon stamps but if pink and blue aren't your thing, why not swap out the colours for something a little different?
Glynis has used pink and blue marker pens to colour in the balloon stamps but if pink and blue aren't your thing, why not swap out the colours for something a little different?
What you'll need:
-
Chloes Creative Cards 8x8 Metal Die Set - Basic Rectangles
- Chloes Creative Cards Box Kit 10 with Limited Edition Stamp
- Chloes Creative Cards 8x8 Mirror Card Pad – Jewel Colours
- Sparkelicious Glitter in Crystallina and Diamante Sparkle
- White Card
- Glossy Accents
- Versafine Clair Black Ink Pad
- WOW Clear Gloss Superfine Embossing Powder
- White Pen -Touch Marker Pen
- Coloured Marker Pens
- Heat gun
- Die Cutting Machine
- Art Glitter Dries Clear PVA Glue
- Chloes Creative Cards 3mm Foam Pads on a Roll
- A3 White Card

Instructions:
- Score and fold the A3 white card in half and die cut with the largest die from the 8x8 basic rectangles die set.
- Using the same die set cut numbers three, five and eleven in white card and numbers two, five and twelve in mirror card from the Jewel Coloured Mirror Card Pad.

- Glitter around the four sides of the largest white die cut with Diamante Sparkle Sparkelicious, matt and layer onto the appropriate mirror card die cut and attach to the base card with foam pads.
- Stamp and heat emboss the small balloon and star from the Limited Edition Stamp all over the middle white die cut, colour with maker pens and glitter with Crystallina Sparkelicious, when completely dry matt and layer onto mirror card and attach to the base card with foam pads.

- Stamp and heat emboss the largest balloon from the stamp set into the middle of the smallest white die cut and colour with the marker pens, stamp and heat emboss the star around the balloons and colour with the marker pens, glitter around the four sides of the die cut with Crystallina Sparkelicious.
- Stamp the balloon x 3, colour with marker pens and the White Pen-Touch Pen, apply the Glossy Accents, when dry fussy cut the balloon and bow and attach to the main card with foam pads.

- Matt and layer onto a mirror card die cut and attach to the base card with foam pads.

- Die cut the word 'celebrate' in two different colours of mirror card, matt and layer together and attach with foam pads.

I hope you've loved making this beautiful birthday card tutorial from Glynis today. It really is such a quick and easy card to make especially using the Limited Edition balloon stamp from the new box kit 10!


1 comment
Lovely card am definitely going to try this one. Have made one with the cup cakestamp it’s turned out great giving my mojo back x