Hello Crafters!
We just knew that you'd like some inspiration using the Limited Edition Gift with Purchase stamp, which celebrates the launch of our brand new website, so Rebecca has been crafting up a storm to show you this pretty pink project you can create when you get the stamp home. Don't forget the stamp is a gift with purchases on orders £25 or more, and did you know the Floral Elements mix and match with our Fabulous Floral Frame Stamp and Die Set? Meaning you can use the dies to cut out the flowers with ease!

How to make it
- Cut a piece of patterned paper to 5 ¾” square and affix to the card using dries clear glue.
- Cut a piece of white card to 5 ½” square. Stamp out the arch using a versafine morning mist ink pad. Cover in clear gloss wow powder and heat set.
- Take shabby shutters oxide ink pad and gently ink over the arch image. Apply dries clear glue to the leaves and a few dots around the arch and cover in lime zing sparkelicious glitter. Edge the piece in glue using a chisel tip glue pen. Cover in crystallina sparkelicious glitter. Affix to the card using foam pads.
- Add a few more dots of glue around the arch and cover in chunky crystallina sparkelicious glitter.
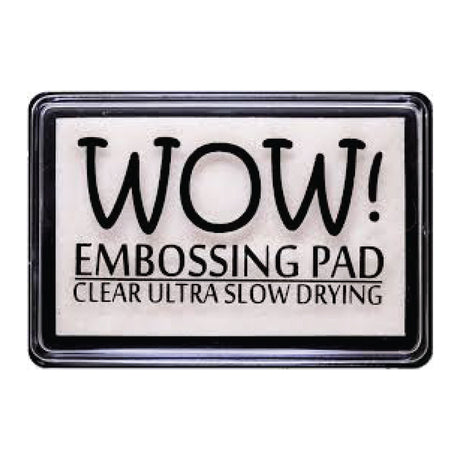
- Stamp out two of each of the flowers and one each of the butterflies, from the set, onto pink vellum using a wow clear embossing ink pad. Heat emboss using opaque bright white wow powder. Die cut using the coordinating dies from the fabulous floral frame stamp and die set. Cut the dies from rose quartz card one for each element. Layer up a rose quartz layer with the matching vellum layer using a foam pad to attach them. Apply dries clear glue to each of the elements and cover in chunky crystallina sparkelicious glitter.
- Layer onto the arch using foam pads. Add a sparkler or self-adhesive sparkles to each of the elements.
- Add a few self-adhesive sparkles into the background. Also apply dots of glue into the background and add on a few sparkling butterflies.
- Stamp out the sentiment using a morning mist versafine ink pad onto white card. Heat emboss using clear gloss wow powder.
- Finally stamp the ‘handcrafted with love’ stamp onto the back of your card using a wow clear embossing ink pad. Heat emboss using polished silver wow powder.

Shop the products you need for this project below -


1 comment
Love your new website.