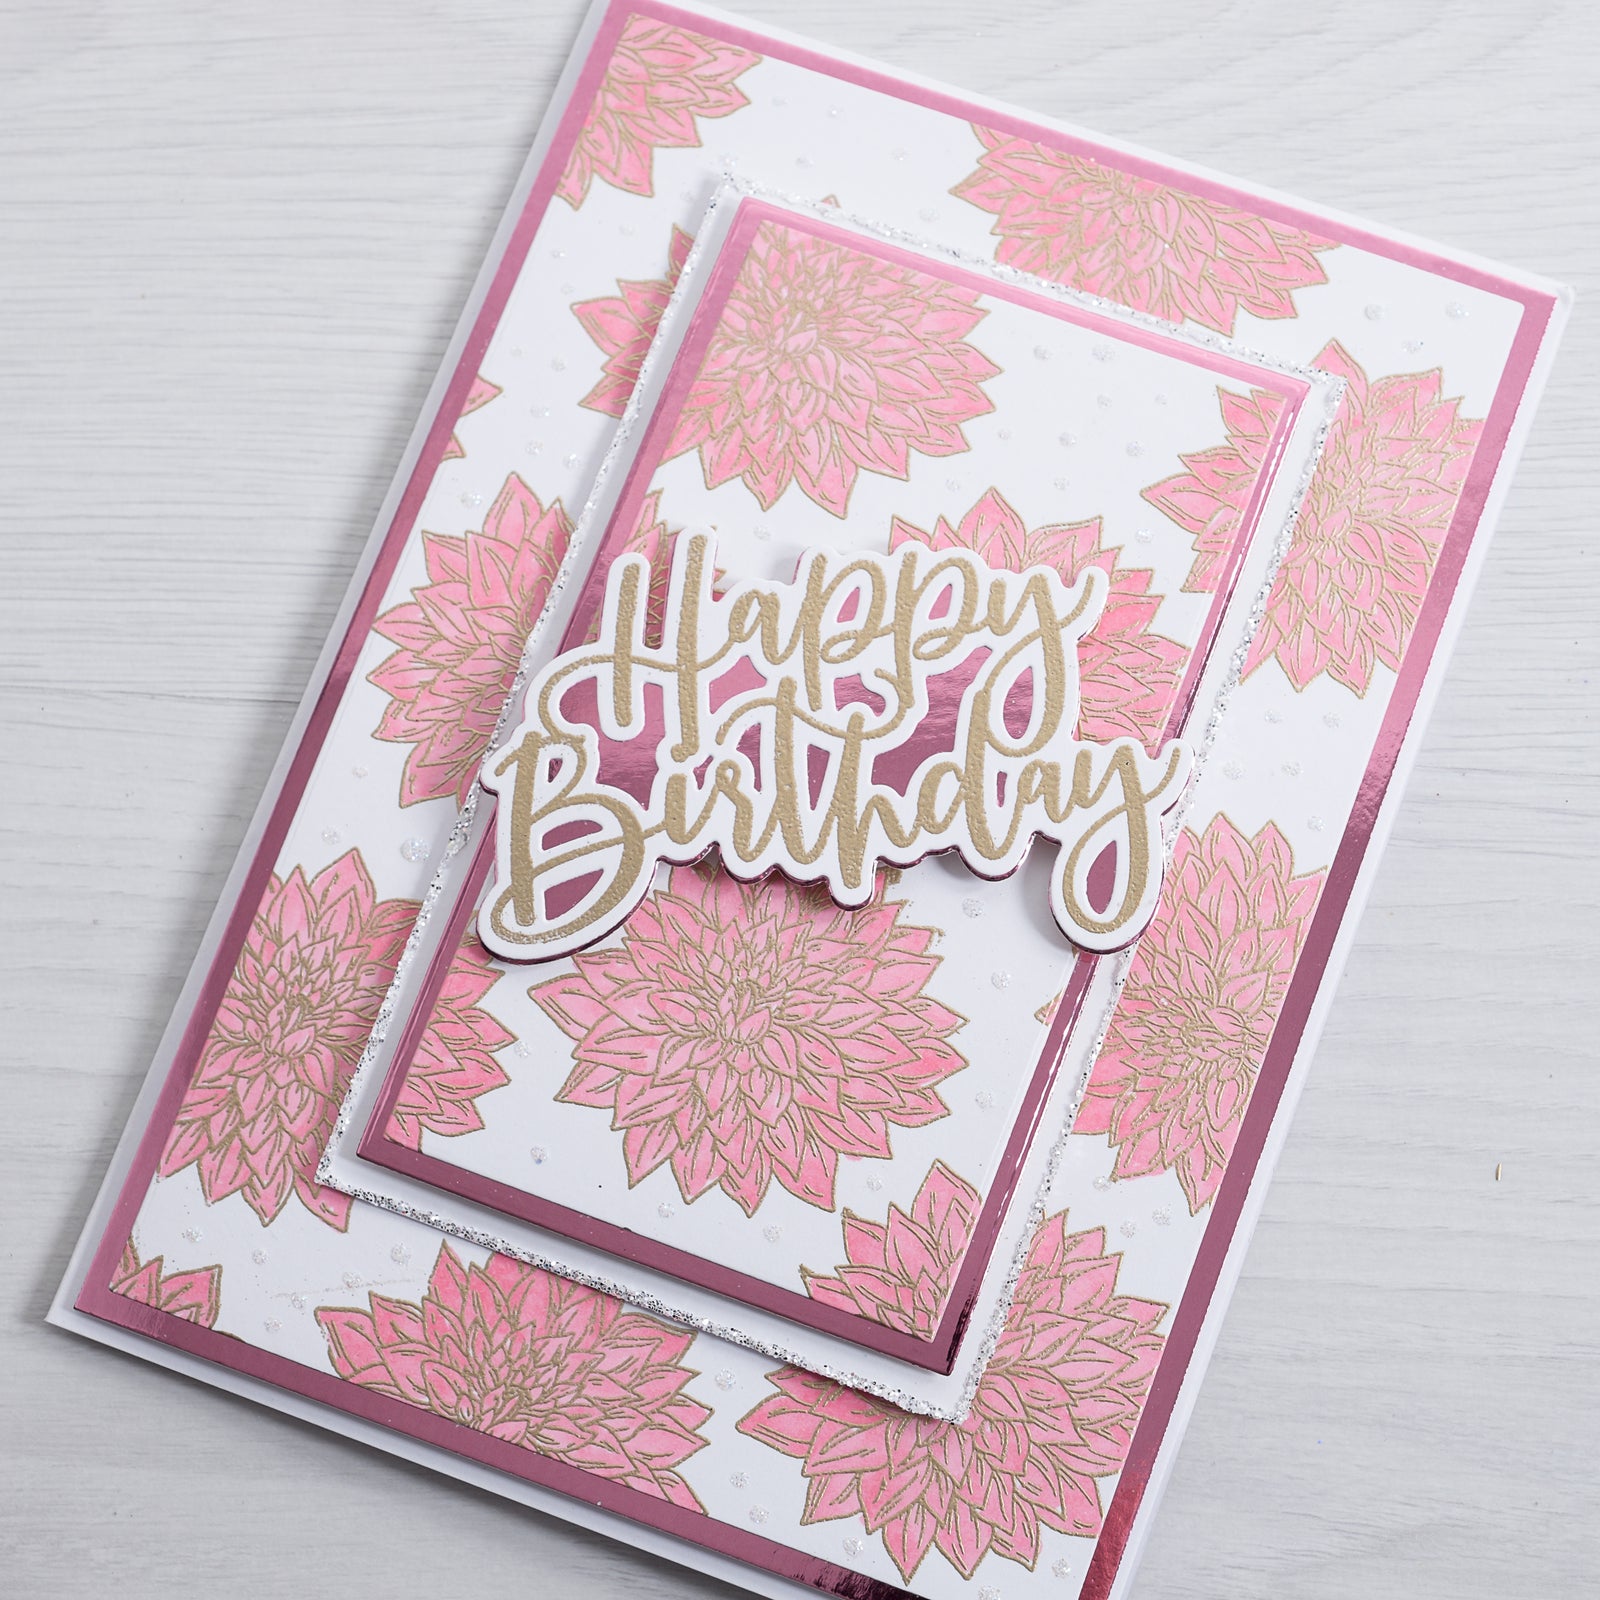
Today's project is this pretty pink dahlia flower Happy Birthday card made by the talented Glynis. The Dahlia Stamp Set creates both a delicate and intricate patterned background for this layered greetings card and we've used our favourite WOW Metallic Gold Embossing Powder to pick out the flower's petals.
Fun fact: Did you know that the dahlia flower is the symbol of change, making it the perfect addition to mark a milestone age or occasion.
Materials:
- A5 Base Card
- Chloes Creative Cards Dahlia Stamp Set
- Chloes Creative Cards Basic A5 Metal Die Set
- Chloes Creative Cards Azalea Mirror card
- Sparkelicious Glitter in Diamante Sparkle and Glass Slipper
- WOW Embossing Powder SuperFine - Metallic Gold
- WOW clear embossing ink pad
- Heat gun
- Die Cutting Machine
- Art Glitter Dries clear glue
- Chloes Creative Cards 3mm foam pads on a roll
- Chloes Creative Cards Happy Birthday Stamp and Die Set
- White Card
- Pale Pink Marker Pen

Instructions:
1. Using a piece of A5 white card stamp and heat emboss the largest Dahlia all over using the WOW Metallic Gold Embossing Powder and colour with the pink marker pen, die cut this piece using the second die from the A5 Die Set, place the eleventh die from the Set in the middle of this piece and cut the panel out.

2. Die cut the Azalea Mirror card using die numbers one and ten and cut one white one with number eight.

3. Attach the patterned piece that is missing the middle to the larger Azalea Mirror card die cut and secure onto the Base Card with foam pads.
4. Glitter the white die cut with Diamante Sparkle Sparkelicious and attach to main card with foam pads.
5. Mat and layer the small, patterned panel to the Azalea Mirror card and mat and layer onto the base card with foam pads.

6. Stamp, heat emboss and die cut the Happy Birthday using the WOW Metallic Gold Embossing Powder, using the outer die from the Happy Birthday Stamp and Die Set cut this in Azalea Mirror card, mat and layer this and the stamped Happy Birthday and attach to the main card with foam pads.
7.Dot the Art Glitter Glue around the patterned card and sprinkle with the Glass Slipper Sparkelicious.

I hope you've enjoyed this tutorial from Glynis and had fun using some of our favourite craft products from the new collections. Remember to share your creations on our Facebook and Instagram pages and follow us to keep up to date with all the latest news and collections. Chloe x


