Hello Crafters,
We have an extra-special blog tutorial for you today, as we're including a FREE download sheet for you to print off and keep. Today's creation, by the lovely Rebecca, is perfect for stamping lovers everywhere as lots of colouring is involved. Using the newly-launched Santa's Workshop collection, Rebecca really has had lots of fun with this card, including the addition of great tactile elements, like the boots' trims and a stand-out triple bow.
Read on for a full step-by-step project tutorial, complete with full linked materials list. You can access the downloadable project sheet at the bottom of the page.

YOU WILL NEED (all products are linked at the bottom to shop!) :
Santa’s Workshop collection:
Santa’s Boots die and stamp set
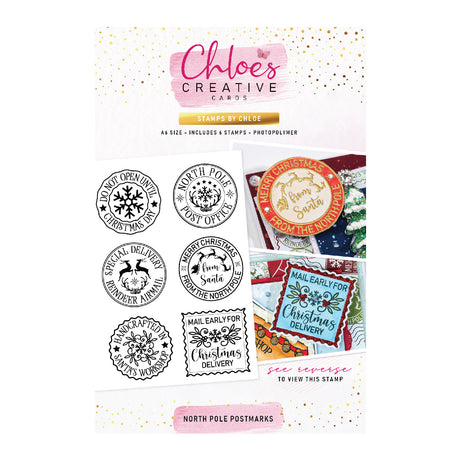
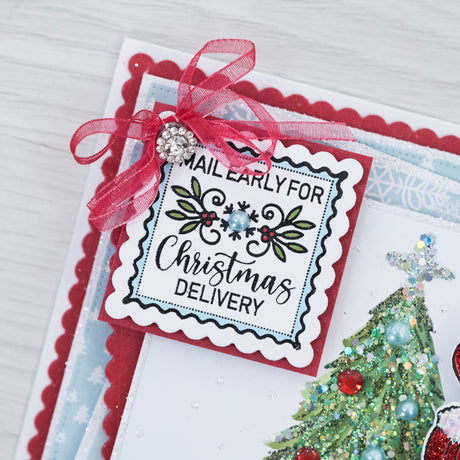
North Pole Postmarks stamp set
Santa’s Workshop 8x8” paper pad
8x8” snowflake circles nesting die set
Sparkelicious glitter – Red Velvet, Stardust Blue, Red Poinsettia, Stardust Gold, and Crystallina
Pearl card – Lapis Lazuli, Jupiter, and Crystal White
White cardstock
WOW! embossing powder – Opaque Bright White and Clear Gloss
Bling Box – Frosty Christmas and Elegant Christmas
Self-adhesive Sparkles – Sparkling Silvers
Red ribbon
Faux fur
Versafine inkpad – Onyx Black
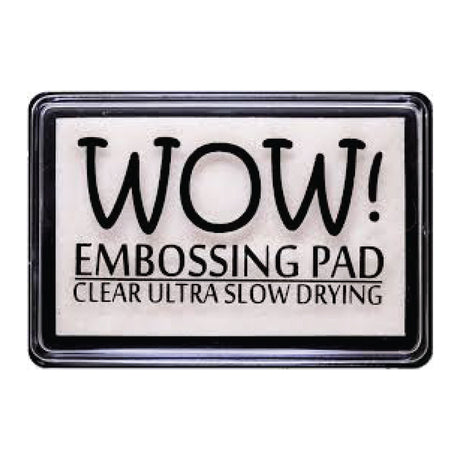
WOW! clear embossing inkpad
Alcohol markers
Foam pads on a roll
Chisel-tip glue pen
Pinflair 3D glue gel
Art Glitter dries-clear glue with a fine-tip applicator
8x8” white straight-edged card blank
Die-cutting machine
INSTRUCTIONS:
1 Trim a sheet of patterned paper to 7¾” square and affix to the card using dries-clear glue. Apply a thin line of glue to the edge of the patterned paper by butting up the metal tip to the edge of the paper and dragging carefully toward yourself, leaving behind a line of glue. Cover in Red Velvet Sparkelicious glitter. Trim a sheet of white cardstock to 7½” square and patterned paper to slightly smaller. Glue together and then affix to the card blank using foam pads.
2 Die-cut a circle from Jupiter pearl card and affix to the card using foam pads. Die-cut a smaller circle from Lapis Lazuli pearl card and apply a thick rim of glue using a chisel-tip glue pen. Cover in Stardust Blue Sparkelicious glitter and affix to the card using foam pads. Die-cut the snowflake and star circle from Crystal White pearl card and edge with glue. Cover in Crystallina Sparkelicious glitter and affix to the card using foam pads.
3 Stamp out two boots onto white cardstock using an Onyx Black Versafine inkpad. Heat-emboss using Clear Gloss embossing powder then die-cut using the coordinating die. Colour in using alcohol markers and apply dries-clear glue to the boots’ straps, then cover in Red Poinsettia Sparkelicious glitter. Once dry, apply dries clear glue to the buckles and cover in stardust gold sparkelicious glitter. Cut two pieces of faux fur and add to the top of the boots. Affix to the card using foam pads.
4 Stamp out two each of the extra elements onto white cardstock using the Onyx Black Versafine inkpad and heat-emboss using Clear Gloss embossing powder. Die-cut using the coordinating dies. Colour in using alcohol markers and glitter using dries-clear glue with Red Poinsettia and Stardust Gold Sparkelicious glitter. Carefully tuck in behind the boots using 3D glue gel.
5 Stamp one of the postmark images onto both Lapis Lazuli and Jupiter pearl card using a clear embossing inkpad. Heat-emboss using Opaque Bright White embossing powder. Carefully cut out the Lapis Lazuli one whole and the Jupiter one by cutting away the edge. Adhere together using foam pads. Apply a thin line of glue around the edge and cover in Red Velvet Sparkelicious glitter. Affix to the card using foam pads.
6 Tie a triple bow and affix to the top right-hand corner, then add a crystal to the centre. Finally, add some self-adhesive sparkles to the snowflakes in the background.
DOWNLOAD YOUR FREE PROJECT SHEET HERE!
I hope you've found this fun Christmas card tutorial by Rebecca informative and that it's inspired you to create your own version!
Remember to share your creations on our Facebook and Instagram pages and follow us to keep up to date with all the latest news and collections.
Chloe x


