Hello Crafters,
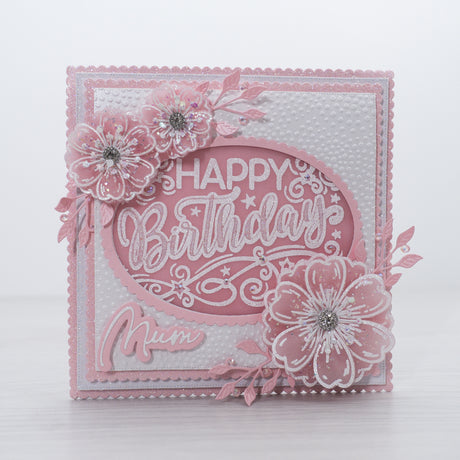
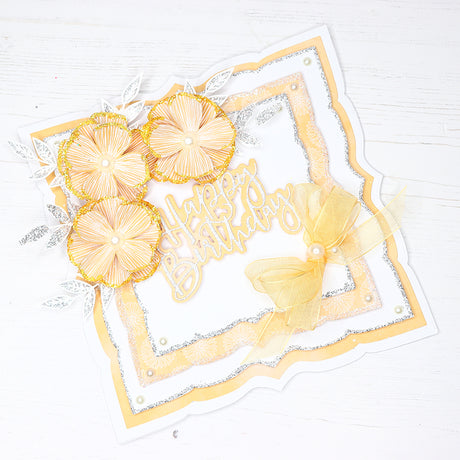
Spend an enjoyable couple of hours recreating today's bright and cheery card tutorial by the talented Glynis. Using a range of items from the brand-new Floral Frames and Flutters collection along with a selection of coordinating products, this pretty, dimensional creation is sure to wow the recipient.
Read on for a full step-by-step project tutorial, complete with full materials list. To view the product page for each individual product, simply click on the product name and you'll be directed to its dedicated page.

YOU WILL NEED:
- Floral Frames and Flutters collection:
- Floral Fantasy 3D embossing folder
- Butterfly Dreams stamp and die set
- Fabulous Florals and Flutter 8x8” paper pad
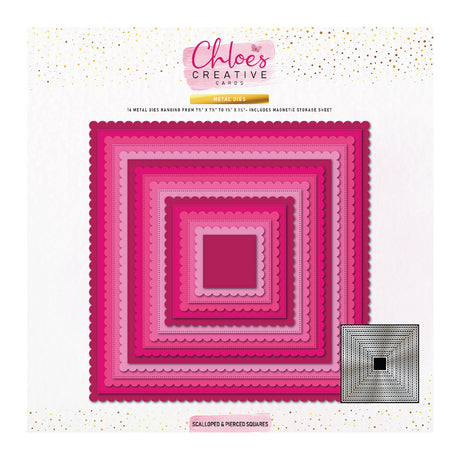
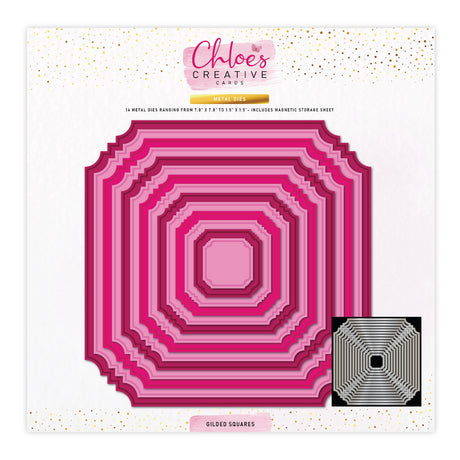
- Nesting die set – Basic Rectangles
- A3 white card
- Mirror card – Azalea
- Pearl card – Crystal White
- Sparkelicious glitter – Watermelon Crush, Crystallina, Crystal Crush, Lime Zing, Fiesta, Lemon Sorbet, and Flamingo
- Ranger Distress Oxide inkpads – Picked Raspberry, Kitsch Flamingo, Fossilized Amber, and Twisted Citron
- Versafine Clair inkpad – Black
- WOW! embossing powder – Clear Gloss
- Pinflair glue gel
- Art Glitter Dries-Clear PVA glue
- Foam pads on a roll
- WOW! heat tool
- Scoreboard
- Die-cutting machine
INSTRUCTIONS:
1 Score and fold the A3 card in half, place the largest die from the Basic Rectangle die set just over the score line and die-cut.
2 Trim a sheet of printed paper from the Fabulous Florals and Flutter paper pad down to size and adhere to the front of the base card. Cut three different size matts using the Basic Rectangles die set in Azalea mirror card, Crystal White pearl card, and patterned paper from the paper pad. Go around the four sides of the Crystal White panel with Crystal Crush Sparkelicious glitter. Matt and layer the three panels and secure onto the base card with foam pads.
3 Using the Floral Fantasy embossing folder, emboss twice using white cardstock. Colour the flowers and foliage on both panels with the Oxide inks and cover with assorted Sparkelicious glitters. With one of the panels, snip out the flowers and adhere to the main image using Pinflair glue gel. Matt and layer onto an Azalea mirror card panel and secure onto the base card using foam pads.
4 Stamp and heat-emboss the sentiment from the Butterfly Dreams stamp and die set onto white card using black ink and Clear Gloss embossing powder. Matt and layer onto Azalea mirror card and finish by affixing to the main card with foam pads.


I hope you've found this pretty floral card tutorial by Glynis informative and that it's inspired you to create your own version!
Remember to share your creations on our Facebook and Instagram pages and follow us to keep up to date with all the latest news and collections.
Chloe x